
To have professional surveyors map our contour lines was going to cost thousands of dollars and many we spoke to outright refused because of the number of trees and acreage. The estimates we did receive were not frequent in elevational increments – one even came in at “every 60 feet!” So we ended up hiring a company only for marking our property boundaries. To map the inner swales and contour lines we are using a bunyip water level – simple, cheap, and effective!
Contour Maps
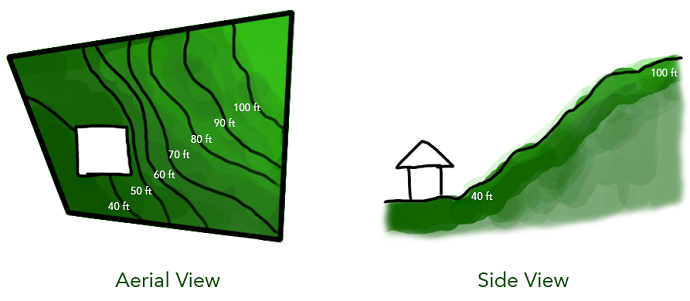
A contour map is a visual representation of the different drops in elevation. You can decide what increments you’d like to measure – every 3 ft, every 10 ft, etc – as long as each line is a consistent distance apart. For example, a sloping hillside might look like this:
Materials
•Clear plastic tubing
•Flags or stakes
•Wood or measuring stick
•Marker
•Tape or wire
Bunyip Water Level
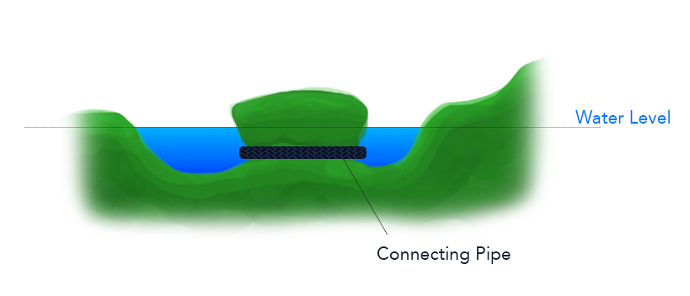
A standing body of water will always work to reach a level state. With a bunyip water level, you can employ this effect on a small scale using clear plastic tubing filled with water. Each person holds onto one end of the tubing and as someone walks around the landscape, the water in the tubing will remain level. This is a quick technique for topographical maps as well as swales.
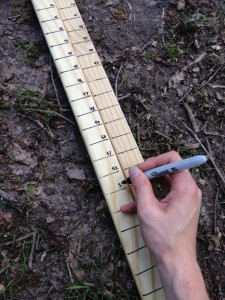
Each end of the tubing should be bound to a solid measuring stick. We created our own here and marked every 1 inch, starting from the top and going down. Your sticks don’t have to be the same height as long as your measurements start from the top.
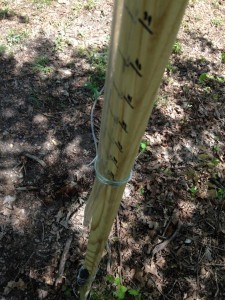
To gauge if you are level or not, one person should remain stationary while the other person walks around. Place the measuring sticks solidly on the ground, then compare numbers. If the numbers are the same for both ends, you are on level ground! If not, one of you is higher in elevation than the other. The person with the higher number is on higher ground. You can quickly measure the difference in elevation by subtracting the higher number from the lower number. For example, if Elisha’s stick reads 35 inches and my stick reads 42 inches, we know that I am 7 inches higher in elevation than her. (42 – 35 = 7)
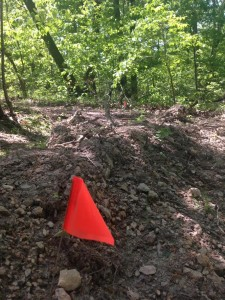
Once you’ve successfully positioned both measuring sticks on level ground, mark the spot with a flag or other temporary stake. Move across the landscape marking each level spot with a flag until you’ve finished that contour line.
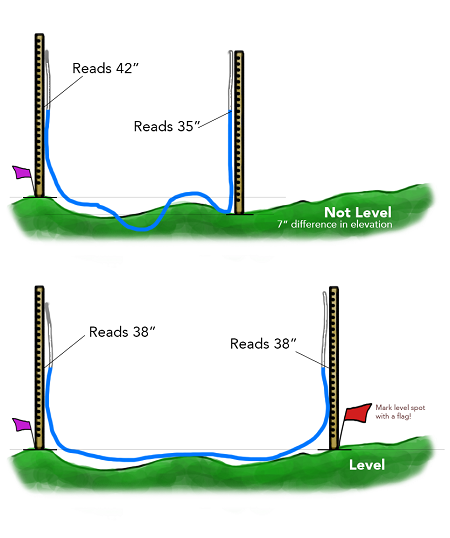
Once you’ve completed a swale or contour line, it’s time to move down (or up) in elevation and do the next one. Whatever distance you choose is arbitrary, as long as it’s consistent with the rest of your contour lines. The above graphic illustrates the 7″ difference from our example. This is how you can measure up or down in elevation. If you want to measure contour lines every 2 feet, then continue positioning the measuring stick until there is a 24″ difference. If you want to measure something larger like every 10 feet, you’ll probably have to break it up a few feet at a time and work your way there.
Creating Digital Blueprints
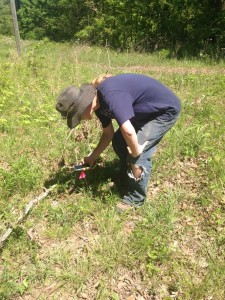
When you’re all done you will be able to visibly see the contour lines on your land. But how do we turn that into a digital blueprint? I walked from flag to flag and took a GPS snapshot on my phone, logging the coordinates of each marker. There are apps for that, the one I used is called “iMapItPro”.
The next step is to export those coordinates as KML data – something Google Earth can render just fine. Here’s how it came out for marking our boundaries:
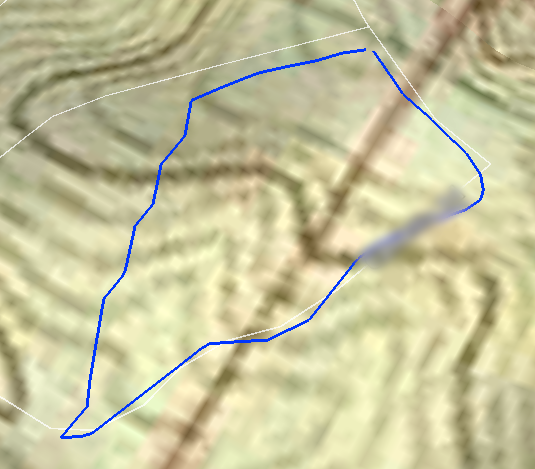
After bringing all the GPS points into Google Earth we exported the collection into Illustrator and Photoshop. Here’s the final topographies including one with shaded depths:
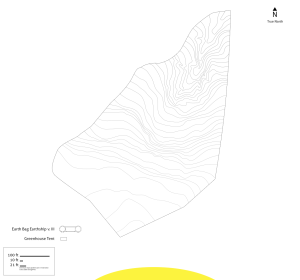
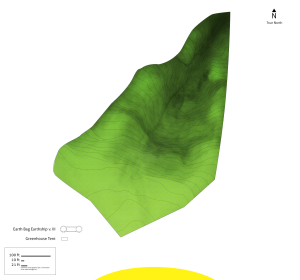
All in all, I think using a bunyip water level has some pros and cons. It was great for navigating around all of those trees, which a laser level would have struggled with. However it took the two of us four days to finish covering all five acres. If we were going to do this again we probably would stick with the water level – though increase the elevation increment from 3ft to 10ft.
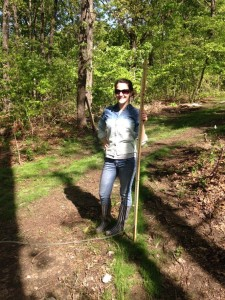
We wish you the best of luck on your contour surveying!
If you found this article helpful, please Neal on his website, there is a lot of great material https://www.lakeoftheozarkspermaculture.com/, or on facebook, https://www.facebook.com/lakeoftheozarkspermaculture/.
Originally Published Here: https://www.lakeoftheozarkspermaculture.com/diy/water-level-bunyip-measure-contour-lines-swales/


Hi there, can you please suggest any good books about swales and contours
I researching the usefulness of swales in water retention
Great idea ! I used this system in building my shelter 2 years ago.It didn’t struck my mind to apply it on countouring.Thanks so much for the tip.
We have just brought a Bunjip Water level in a wooden box with a price of 11pound and 17sixpence. It has origin paper work and made by Yeomans. Do you know anything about this old Bunyip Water Level such as how old it maybe?
P. A. Yoemans , who developed the Keyline System died in 1984. His son carried on and marketed products like the keyline plow, and I would expect the bunyip. It is a priceless collector item from my point of view. I think it will need a new hose.